

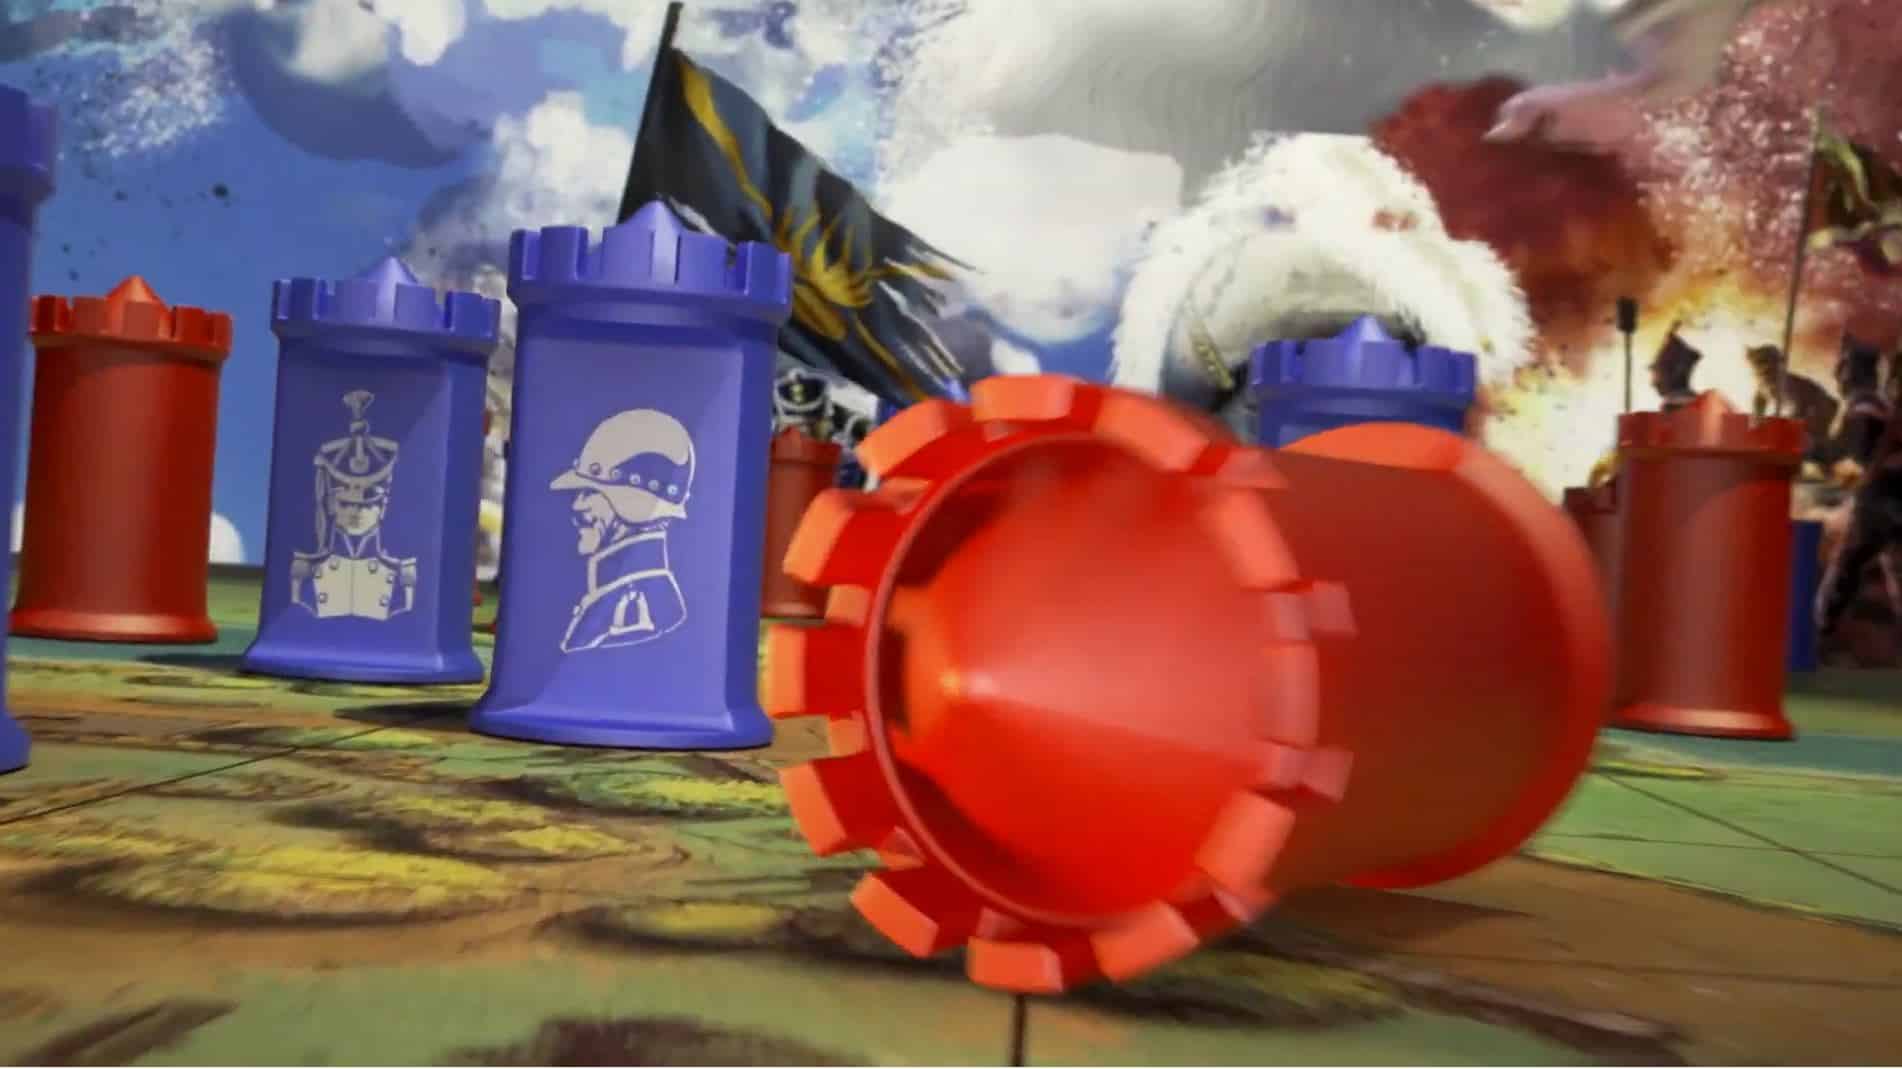
When it comes to the classic two-player game, “Stratego,” there are many possible techniques to win – as the name suggests. Think about the game as a combination between Chess, Battleship, and Capture the Flag. Skill and luck combine here to make for exciting rounds where nothing’s ever the same again.
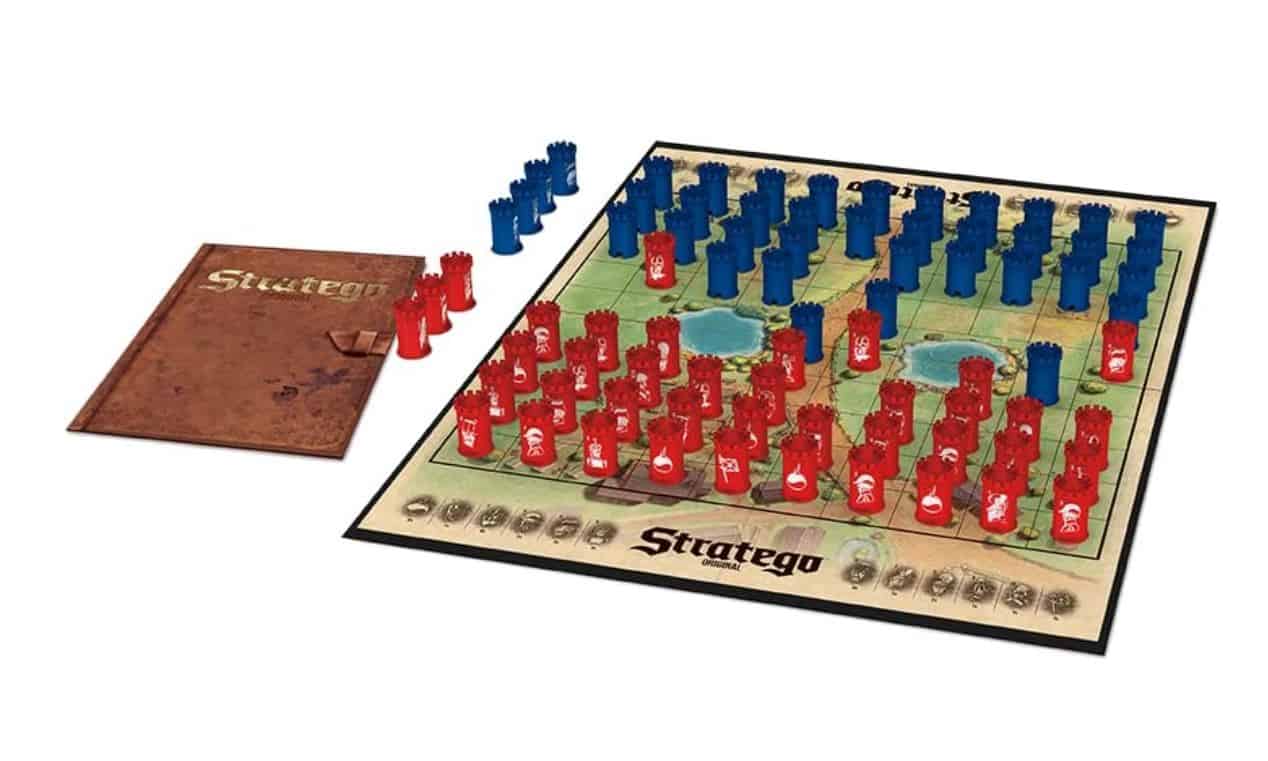
The first step to implementing a triumphant tactical victory is creating the best Stratego setups for how you want to play. I’d say it’s actually the most crucial part of the game. Get it wrong, and you’ll quickly find yourself in deep trouble.
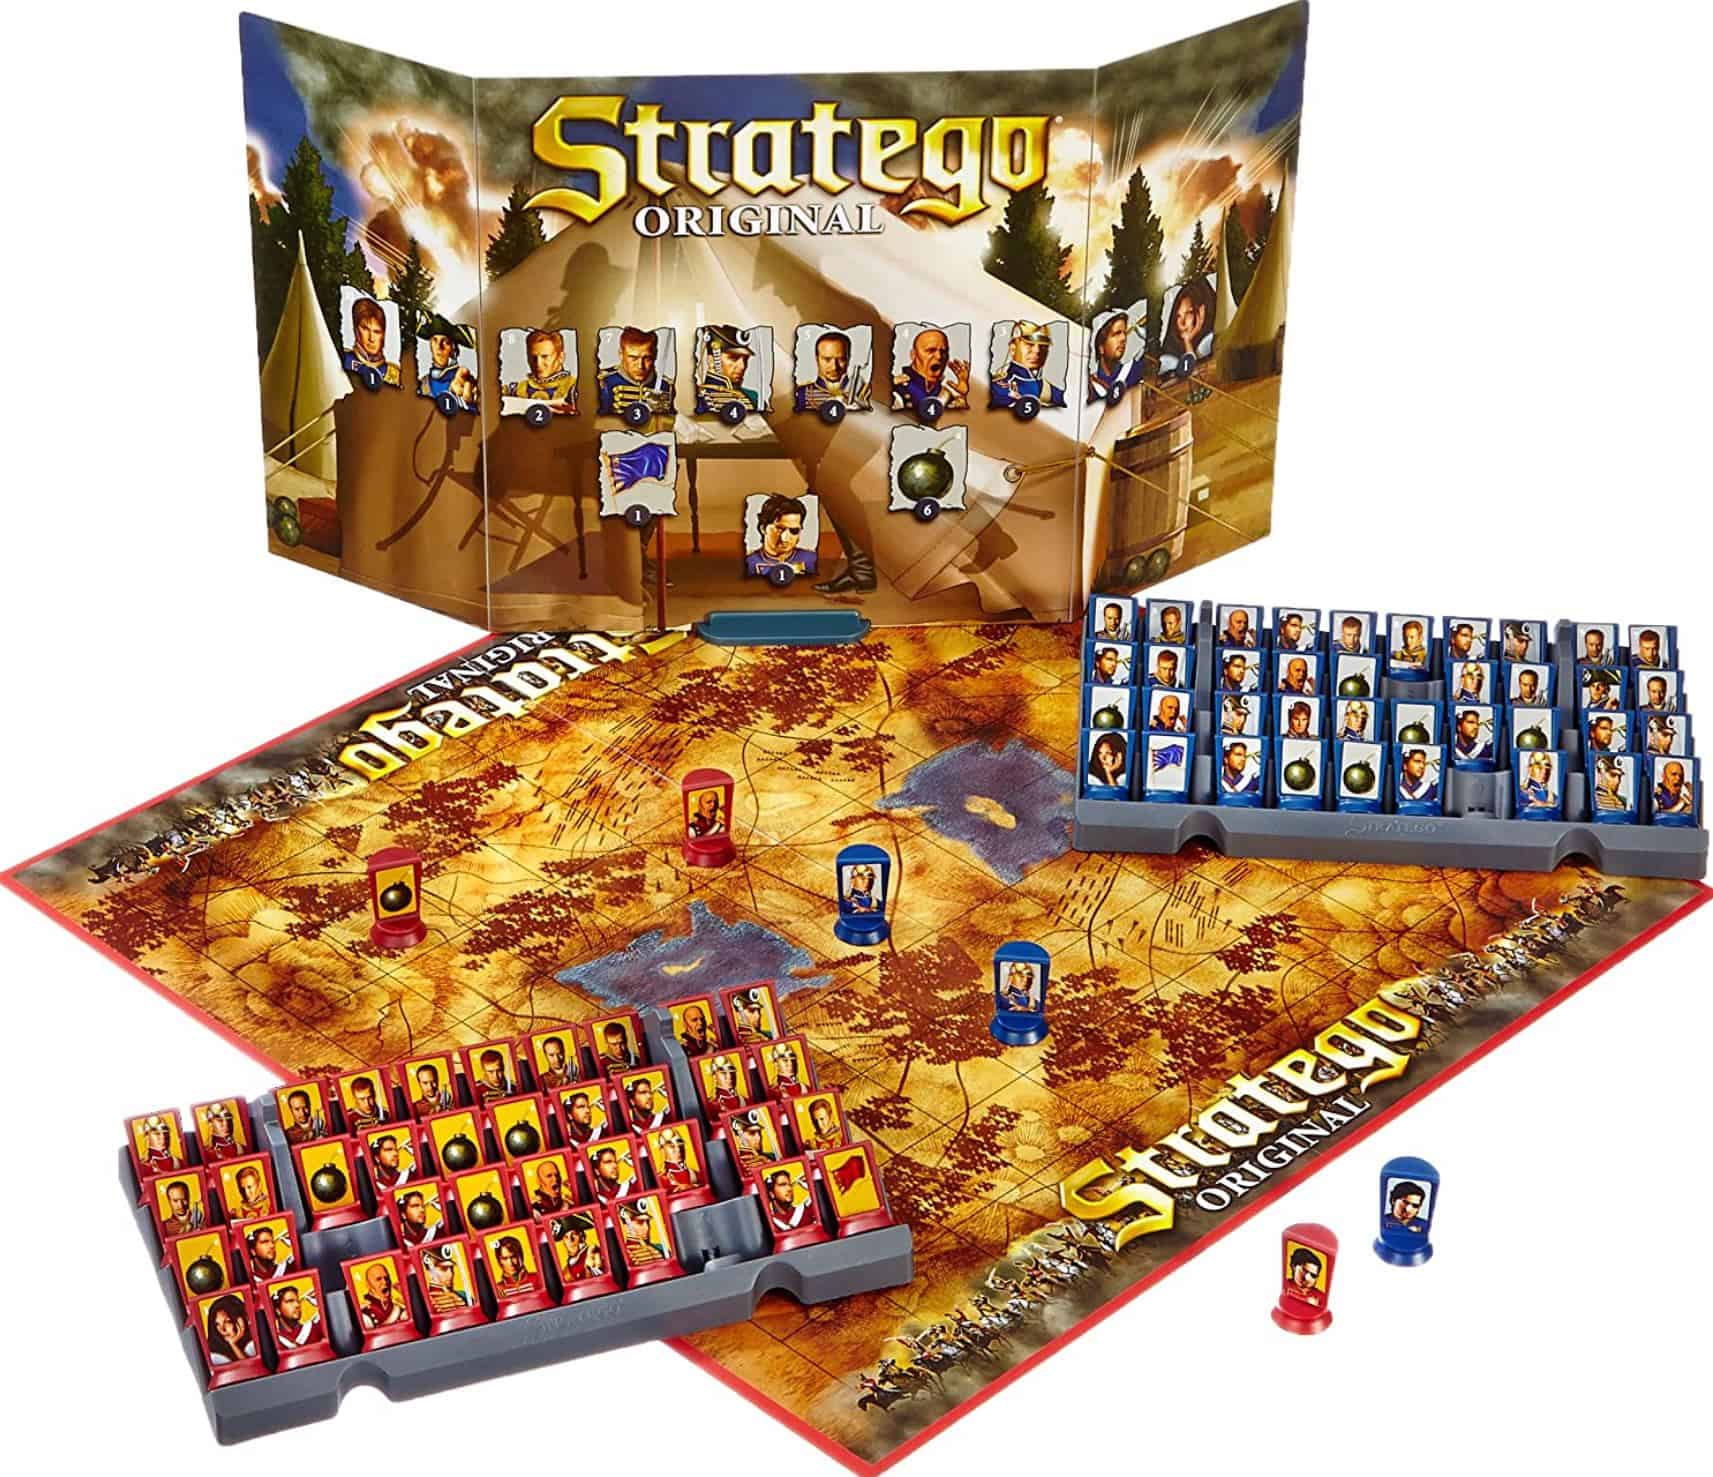
Organizing 40 units into a cohesive army with a plan in mind can be challenging. That’s why I’ve compiled a few different things you could try. Feel free to modify these depending on how you like to play (or, more importantly, how your opponent usually plays).
Without any further ado, let’s get started! Here are the best Stratego setups for a tactical victory.
My Preferred Stratego Setup Up Front
Ah, now that would be telling, my friend. It’s important to mix things up as much as possible, especially if you’re playing multiple games in a row with the same opponent.
Okay, I’ll tell you. (Here’s hoping none of my friends ever read this piece!)
For me, the best Stratego setup promotes caution and a swift counterattack. I call it the Trampoline effect because that’s how I visualize it. I allow the enemy troops to make the first attacking moves and design my lines in such a way as to absorb the force of these attacks.
This involves higher ranks at the front, of course. With the first wave repelled, I’ll launch a counterattack with mid-ranking troops to punch a hole through the now-disorganized lines. There’ll be some hiccups along the way – Mines, the odd powerful unit, etc. But, with the proper setup, I’ll find the Bombs clustering around the Flag and call the Miners to defuse them. In the meantime, I’ll protect them with the units already there, sacrificing them if necessary.
This strategy works most of the time. It’s vulnerable to a few things, like a Flag decoy or an overly intense attack by the opponent at the start. Otherwise, I’ve found it works pretty well.
I also like the Stealthy Elephant game plan, as described below. Tempt the Marshal and get him with the Spy. Nice, quick, and efficient.
What Makes a Stratego Setup Good?
There are several aspects to making a Stratego set up good. When you come to play, you must set your pieces out in such a way that satisfies most of these as much as possible. Unfortunately, there’s no perfect game plan, especially in Stratego, so you’ll have to adapt and work with whatever happens.
Objective-Based Thinking

Objective-based thinking is, in reality, unbelievably simple. Businesses, schools, and all manner of organizations worldwide rely on a structured version of it. The concept is straightforward: always remember why you’re playing and how you will win.
There are three ways to win Stratego:
- Capture the Flag
- The Spy moves on the Marshal
- None of your opponent’s pieces can move (possibly due to all the “soldier” units being dead or trapped by Bombs)
Always remember what you’re trying to do. Capturing the Flag is most people’s primary objective, but the other two work well, too – especially as backups.
Flip-flopping between objectives means you’ll have no clear set target. As a result, your troops will become chaotic, and the lines will fold.
Don’t Get Distracted with Non-Objectives
I always find it tempting to try to win with as many pieces surviving on my board as possible. In Stratego, this is nonsense. To win, you must sacrifice most of your troops, except in rare cases where the opponent’s setup is terrible.
I understand wanting to avoid all risks, but the troops have no escape in this game. The game continues until one of the armies wins. Playing too safe only delays the inevitable.
In the same way, you aren’t playing Operation for Bombs. You don’t have to diffuse every Bomb you come across – only those blocking the path or the Flag.
Remember, as above, objective-based thinking!
Unit Cohesion
Here’s another vital thing. The units must work together in such a way that promotes cohesion. In almost all cases, this involves mixing high- and low-ranking troops.
Here’s an example to explain what I mean. Say a Captain (6) attacks a Scout (2). Sad. But if you have a Major (7) hanging around next to the now-deceased Scout, that Captain is toast.
Of course, the more influential the unit, the less you have of them. Dispersing them equally is usually the best way of protecting your troops. Bombs hidden among the ranks can also work well.
Stick to the Plan
Inflexibility, as a golden rule, never works well. You’ll need to change and adapt once the game starts. However, you set your pieces up in a certain way to achieve a certain objective. Deciding that you want to do something else will involve an enormous amount of reshuffling units. During this time, your opponent will have a perfect opportunity to wipe you out.
As such, it’s broadly best to stick to the plan. If you come up with the best strategy before the game starts, that’s where you win.
There are always exceptions, of course. If Plan A has gone horribly wrong, look at what you can still do to win. For instance, can you find out where the Marshal is if your Spy’s hanging around without much to do?
The Best Stratego Setup Ideas
With all that said and done, here are the best Stratego setups for several strategies. You might like to modify them for your own needs.
Stealthy Elephant
One of the riskiest strategies is to take the Marshal (10) out with your Spy (1). Send other units out first to test the waters. It’s crucial to see what your opponent has started within their first line. Bring the Marshal and Spy out behind the front ranks but always keep them protected.
Of course, the unavoidable risk is that you run into their Marshal or hit a Bomb. This strategy sacrifices a significant number of pieces. Still, if you effectively locate your opponent’s Marshal, you have a quicker and easier way to win.
Keep your Spy up there too. You can send it out to attack your opponent’s Marshal, winning you the game in the most sneaky and borderline obnoxious way. Hence the heading – you have to be a completely obvious elephant to accomplish the optimal stealth. This strategy, done successfully, attains bragging rights to the brutal and sly winner.
Bombs Dropped
The previous strategy doesn’t utilize many of the other pieces that Stratego has to offer. This brings us to Bombs Dropped. Your Miners (3) are a valuable piece, with the power to defuse bombs. This incredible piece has a downside, too: its low rank (3). This means they can get taken out quickly by most of your opponents’ pieces.
If you line your front row with mid-ranking pieces and place your Miners behind them, it could set you up quite nicely to take out your opponent’s Bombs. Say you make your front line consist of a mix of your Colonels (8), Majors (7), and Captains (6). Then your second line consists of a blend of your Miners (3) and maybe a few Lieutenants (5) and Sergeants (4). Sprinkle the highest ranks among them, distributing them evenly.
Your other pieces go ahead of your Bomb defusers, allowing you to take out the Bombs standing between you and victory. This strategy is best if you know the person you are playing isn’t a risk taker and would fully barricade their Flag with bombs. Your Miners (3) would be your only hope in that scenario. It’s crucial to protect them as much as possible – equally, they might need to be near the front to clear paths.
Smarter Not Harder

The previous strategy used the Miners (3) as second-row forward troops. It can work, but in most cases, it makes more sense to save your Miners and simply avoid the Bombs you come across. That is until it’s necessary to diffuse them – for example, if they’re completely blocking your path.
If you lose a piece to a Bomb, make a mental note of where it is and avoid it with your other troops. If you hit a Bomb early on in your opponent’s lineup, the bombs are most likely standing alone and not protecting the Flag.
This setup means keeping your Miners safe, right at the back. It might be worth sending one or two out with your attack, just in case. It utilizes a very simple avoidance maneuver and allows you to focus on the Flag and not the Bombs, thus winning the game.
Fortified Flag
The last strategy brings to mind a highly protective way of going about this tactical game. Place all your Bombs around your Flag and then your highest-ranking pieces around them.
This makes your Flag very hard to access, but it also makes it very obvious where your Flag is. The other downside is that it leaves you with your lowest ranking pieces vulnerable to your opponent’s first strikes. This strategy is pretty Bomb proof; pun intended.
It doesn’t always work, but it does allow you to not worry about protecting your Flag while trying to locate your opponent’s Flag. Use it in a counterattack setup, allowing your lower units to be sacrificed while you wait for the opportunity to break out. As they advance, it’ll become reasonably clear which of their units aren’t moving. Flag time.
The Illusion
Springboarding off the idea of fortifying your Flag with bombs, here’s another strategy with a twist to satisfy your inner sleuth.
Instead of surrounding your Flag with Bombs, create a decoy. For example, place a low-ranking piece in the middle of your bombs, such as a Sergeant (4). Place your Flag in a more subtle location – perhaps in the corner – and place your extra Bombs and high-ranking pieces around it. This way, your opponent focuses their attention on what they think is the heavily protected Flag.
This buys you time to map out your opponent’s lineup. However, make sure you have your poker face up to snuff. You must be able to sell the dummy and hope your opponent doesn’t just happen across your Flag in the meantime. It’s a calculated risk.
Heart on your Sleeve
This idea will utilize your Scouts (2), who can skip across as many spaces that are open in front of them. Scouts are helpful for determining your opponents’ pieces efficiently. However, jumping across multiple squares means your opponent immediately knows what unit they are. They are also very low ranking at 2, so they don’t usually last long.
Make your front-line mid-ranking pieces (Captains (6), Lieutenants (5), and Sergeants (4)). Place your Scouts in your second line and send them out to find the enemy Flag as soon as it opens up.
In actuality, your Scouts are much more likely to find your opponent’s Bombs and higher-ranking pieces, but you might get lucky and find their Spy (1) or their Flag. Make your third line up of your higher-ranking units (General (9), Colonels (8), Majors (7)), and some (not all) of your Miners. This way, they can go behind your Scouts (2) and destroy what they have discovered.
It might feel counterintuitive to sacrifice your Scouts like this, but trading them off against knowing your opponent’s lineup can be a worthwhile risk.
The Torpedo
Here is an out-there strategy for the overly aggressive players amongst you. To be fair, it is highly tactical.
Focus your high-ranking pieces in the middle of the board. Hold back your Marshal (10) to send in after. Start with some Scouts (2) to test out the front line. If there are any Bombs, avoid or defuse them. Continue with this strategy until a hole opens down the middle.
Send your General (9) and Colonels (8) out and down the center of the board. Hopefully, your opponent doesn’t have his Marshal (10) waiting for you. Have the Spy traveling with your units as a backup. You have a high chance of getting your General (9) and Colonels (8) to your opponent’s back line. Work your way along your opponent’s back line. The Flag is most likely there somewhere.
If you lose your General (9) and Colonels (8), you can fall back on sending your Marshal (10) in.
Staggered Do
To play a mind game with your opponent, position your pieces almost randomly. Let the water barricade your Flag for you. This will not be expected because most people’s instinct is to place the Flag at the back (logical), so it takes the longest to get to. Also, put your Bombs down in a spaced-apart manner, more like setting a trap instead of using them like a moat.
With the spaces left, pair your high-ranking pieces with low-ranking pieces. This will work to your advantage because you don’t know what your opponent will send your way. It also allows you to have your more powerful pieces tucked away; this may come in handy, depending on how the game plays out.
Become less structured to become more tactical. Watch your opponent’s puzzled face as they try to uncover where you have hidden your Flag.
Bombardment
Make your first line completely Bombs, except for one piece (otherwise, you wouldn’t be able to make any moves). The other piece should be your General (9), so they have a fighting chance of destroying whoever they attack.
This is a risky strategy because it’ll be obvious to your opponent that you are only moving one piece at a time. You might also run into your opponent’s Spy (1) or Bombs. It really comes down to how your opponent has set his board.
Your powerful pieces will either go and clear the way for you, or you’ll be stuck behind your own bombs. Either way, you will take down a portion of your opponents’ pieces because they will have to get through your Bombs to reach any of your other pieces.
You could also pair this with a bluff. Instead of using a line of Bombs, intersperse it with low-ranking units like Sergeants (4). This makes your opponent hesitate and hopefully try to force their way down the center. Place an effective trap here with the Spy and more Bombs.
Row, Row, Row Your Boat
This tactic uses a Bomb row formation to protect your Flag while sending the rest of your pieces out in an all-out assault. Death or glory.
Place two of your Bombs in the middle two open spaces. Then, put two more below that in the second row, and so on in the third. This uses all six of your Bombs. Place your Flag in the fourth row behind them. On the sides, place all the rest of your high-ranking pieces to send out to attack your opponent’s formation. Use a pincer maneuver to crush them from both sides.
Frequently Asked Questions
Question: Is there strategy to Stratego?
Answer: Stratego is a game where skill and luck combine (like most). There are almost infinite ways you can set your board up, and no round is ever the same as the previous. However, sticking to a well-thought-out strategy is often the best way to win. I’ve found that whoever loses their nerve and breaks from their plan first usually loses.
Question: Where should I put my Flag in Stratego?
Answer: There’s a reason why most people put their Flag at the back, and often in the corner. Here, it’s best protected. Surround it with Bombs and create decoys if possible. The Marshal often functions best as Flag protection rather than being included in your assaults.
If you’re playing against a more intense player, consider putting the Flag in the third row back. This protects you against the Torpedo strategy mentioned in this article, when the back row gets decimated.
Question: Do Bombs disappear in Stratego?
Answer: Bombs are only removed from the board when they’re “attacked” by a Miner (3). The Miner takes its place in the same way as a normal attack between two units.
When any other troop hits a Bomb, that troop dies. The Bomb remains in place. It works the same way as attacking a higher-ranked piece.
Conclusion
There are many ways to set up your pieces to give you the best chance at gaining victory, many more than just the ones stated in this article. In fact, there are 815,915,283,247,897,734,345,611,269,596,115,894,272,000,000,000 different ways you could set your squad up. No, seriously. That’s a true fact (you could put any of 40 pieces in the first square, any of 39 in the second, etc.). That means there are almost as many options to set up your side of the board (just your side!) as there are atoms in planet Earth.
Statistically, based on these numbers, it’s almost guaranteed that your game will play out differently from all other versions of Stratego ever played. Because of that, don’t let anyone tell you what to do. Embrace how different each game can be, and learn as you go. That’s certainly what I’m still doing.
Hopefully, these tactics will help you in future battles against your foes. All the best with powering to victory!
Recommended reads:
- Best Stratego Strategies For A Resounding Victory
- Stratego Pieces Explained
- Stratego Waterloo Guide: History Fan Must-Play Game
- Terraforming Mars Guide: Fighting for Spaces in Space - April 22, 2023
- Zathura Board Game Guide - April 20, 2023
- Ark Nova Guide – Zoo Complex, Or Complex Zoo? - April 8, 2023